FREE Chenille Jacket Instructions by Hope Yoder. 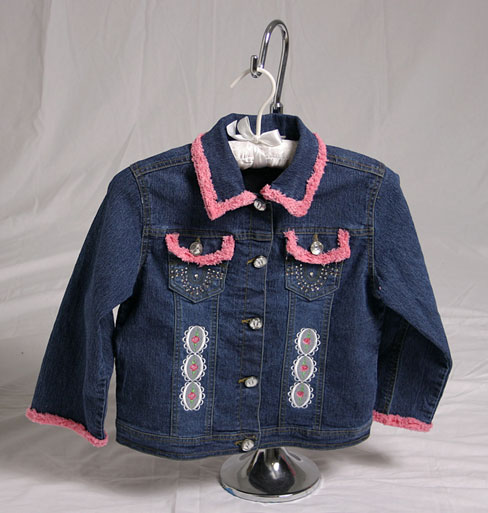
|
Embroidery Products |
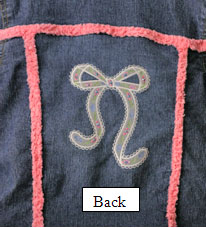
Embroidery- From the Cathedral Lace Windows collection, print a template of either CLEndles or CL4 design & from theLace Shaping collection print the bow template.
- Arrange the bow in the back & the cathedral Lace Windows in the front and embroider the designs following the directions on the PDF file that accompany each collection.
| 
|
Adding Chenille To apply the chenille, use a chenille foot (Viking & Pfaff machines) or an open toe foot with a tiny lightening stitch (zigzag set on 1.0 L & W) & follow these guidelines: Do not cut ends of chenille even with edge of jacket as the chenille will draw up & shrink after washing. Instead leave ½” tail hanging off beginning & end, & trim after the first washing. - When going around a corner such as a collar, simply sew up to the point, leave a tail & start a second piece going along the next line angle. Do not wrap the chenille around the corners.
- When finished applying chenille to the entire jacket, dip a chenille brush into some water & scrub the layers until they fray. Then wash & dry the jacket in a washing machine.
|
Add the following layers of chenille to each jacket part: Two layers of chenille to the under collar Two layers of chenille to the upper collar Two layers of chenille to the under sleeve hem Two layers of the upper sleeve hem Two layers around the edge of the pocket flap Two layers over the back yoke Two layers over any felted seams
| 
|
Another jacket example can be found using Hope’s Romantic Hearts & Bows 
|
No comments:
Post a Comment